Posted by João Martins on 13 Apr 2026
How to Connect Webflow Forms to Google Sheets
Save Webflow form submissions to Google Sheets — no Zapier needed
Webflow is a powerful no-code website builder, but connecting forms to Google Sheets typically requires Zapier or third-party integrations. Form2Sheet simplifies this — just embed a custom HTML form and submissions flow directly to your spreadsheet.
In this tutorial, I will guide you through the process of adding a form to Webflow that sends submissions directly to Google Sheets using Form2Sheet.
Step 1: Prerequisites
The first step in integrating Form2Sheet is to subscribe either monthly or yearly.
Then, go to https://form2sheet.com and create your first
spreadsheet.
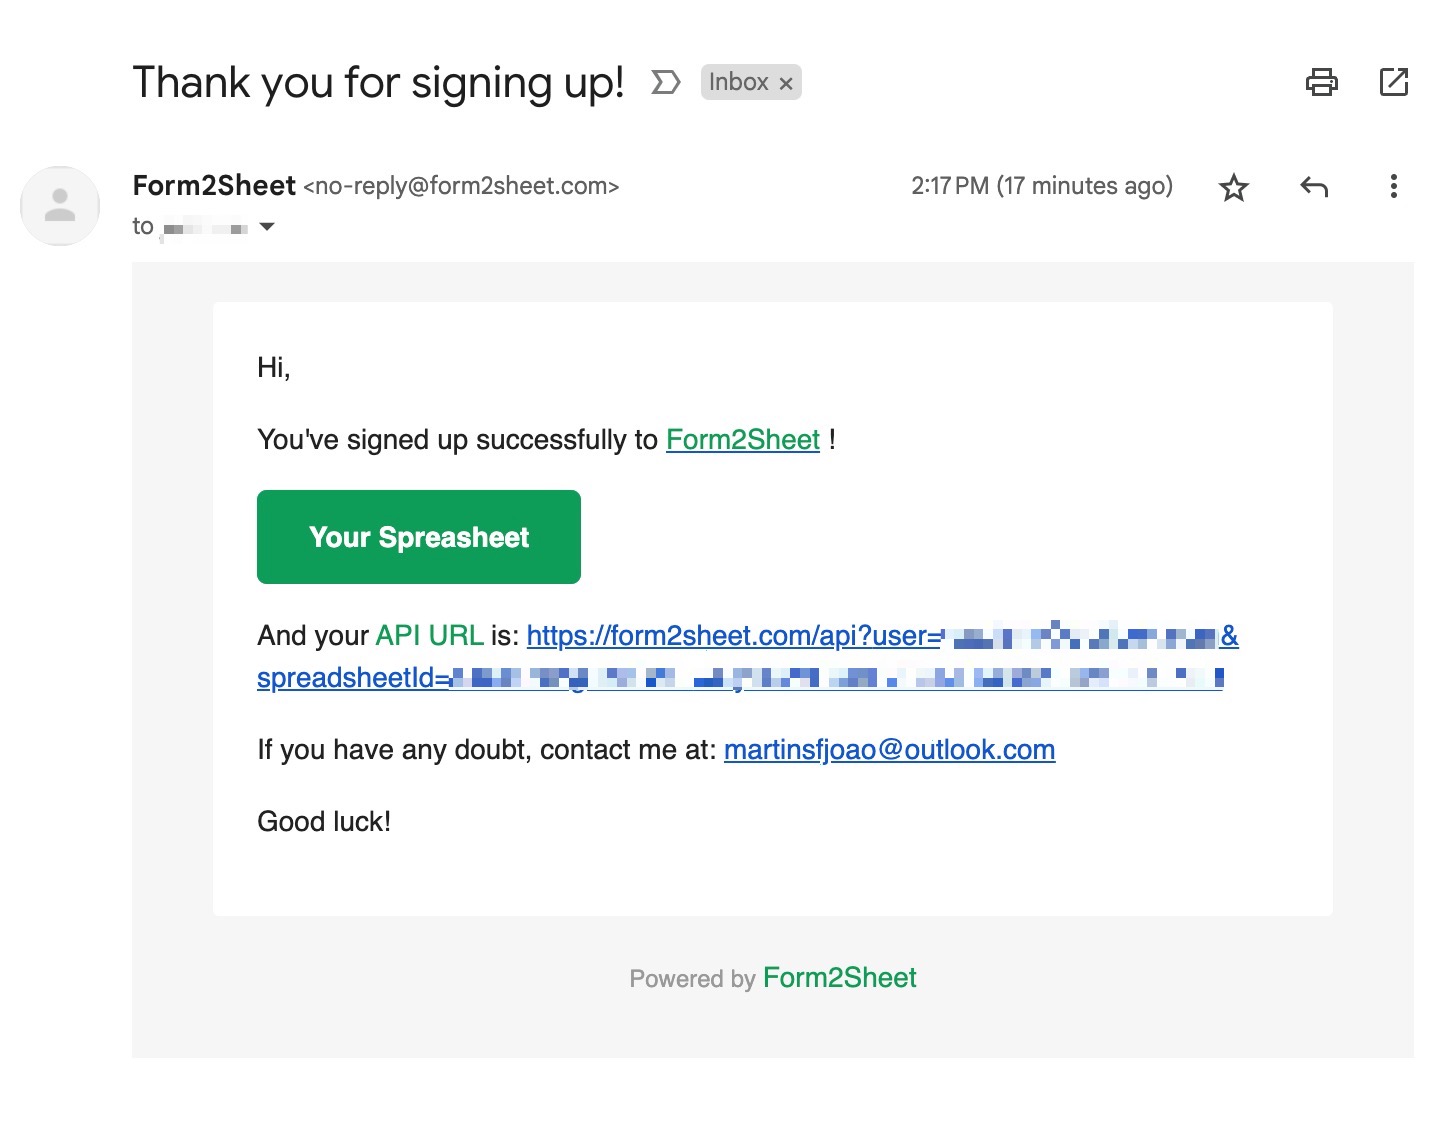
(Email received after creating a spreadsheet)
Step 2: Adding a Form to Webflow
In Webflow, you can add custom HTML using the Embed element. Drag an Embed element onto your page from the Add Elements panel (or press A), and paste the form code below. Make sure to replace the $API_URL with the one you received
in your email (check your spam folder as well).
<!-- Add this using Webflow's Embed element -->
<form action="" method="">
<label>Name:</label>
<input type="text" name="" style="width:100%;padding:10px;margin:8px 0;border:1px solid #ddd;border-radius:4px;" />
<label>E-mail:</label>
<input type="email" name="" style="width:100%;padding:10px;margin:8px 0;border:1px solid #ddd;border-radius:4px;" />
<label>Message:</label>
<textarea name="" style="width:100%;padding:10px;margin:8px 0;border:1px solid #ddd;border-radius:4px;" rows="4"></textarea>
<input type="submit" value="Submit" style="padding:12px 24px;background:#0f9d58;color:white;border:none;border-radius:4px;cursor:pointer;" />
</form>
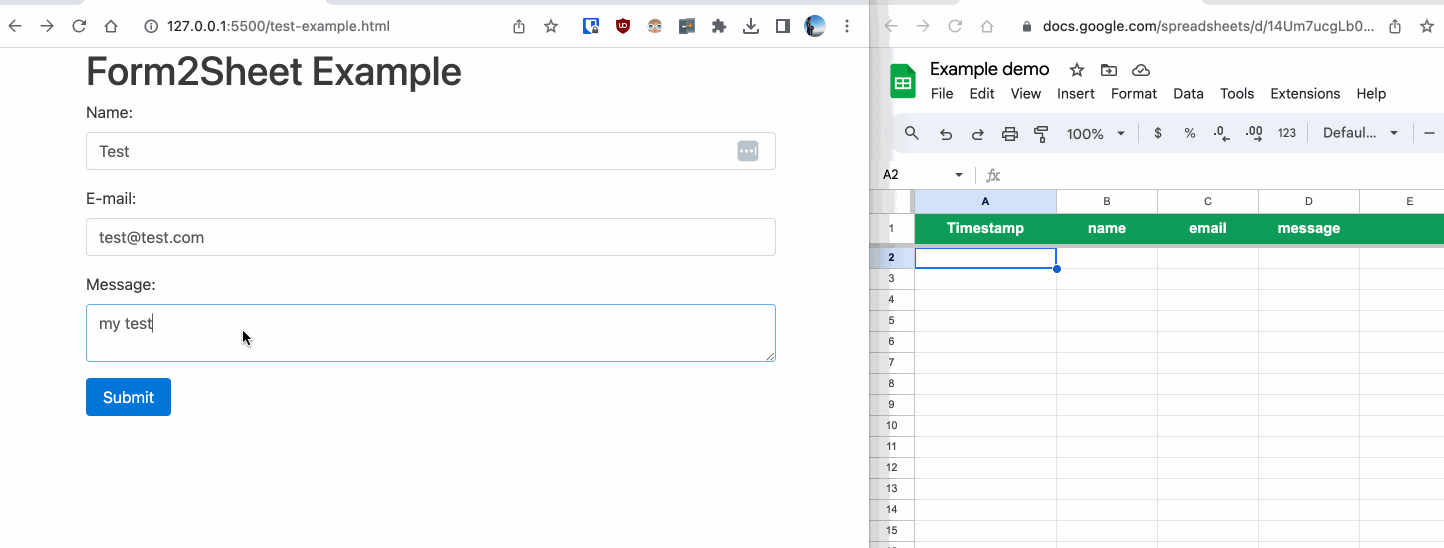
Step 3: Submitting the Form
In the GIF below, you can see how after submitting the form you check the results in
your Spreadsheet.
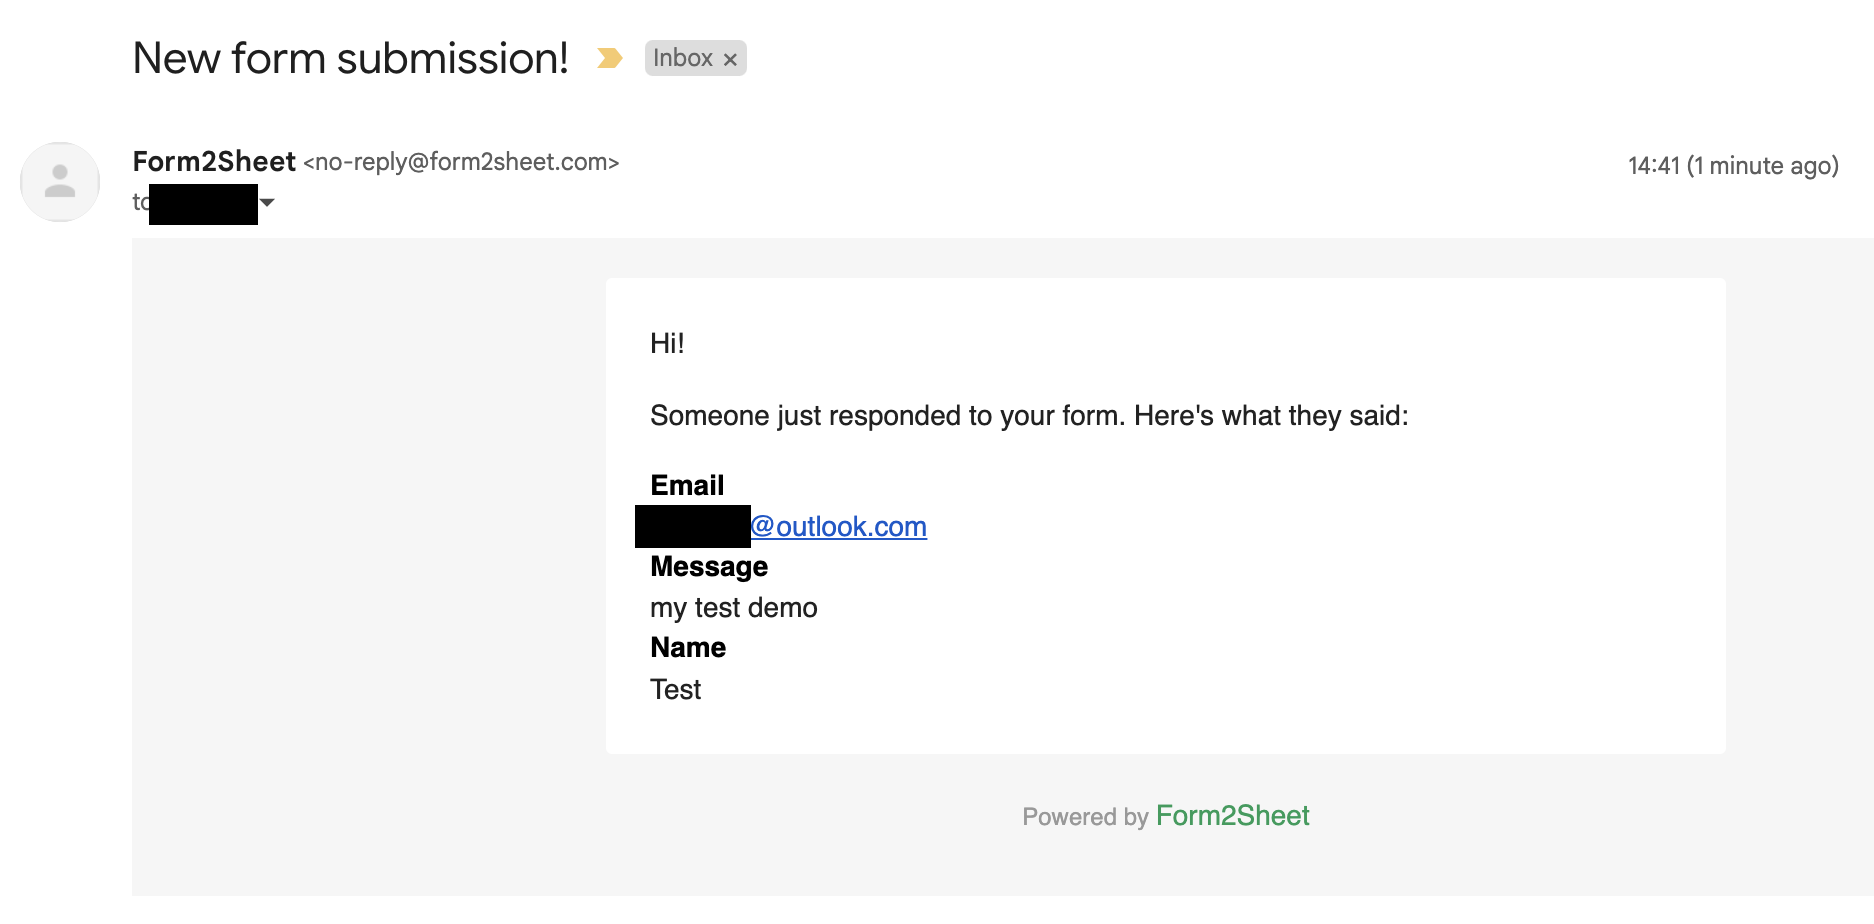
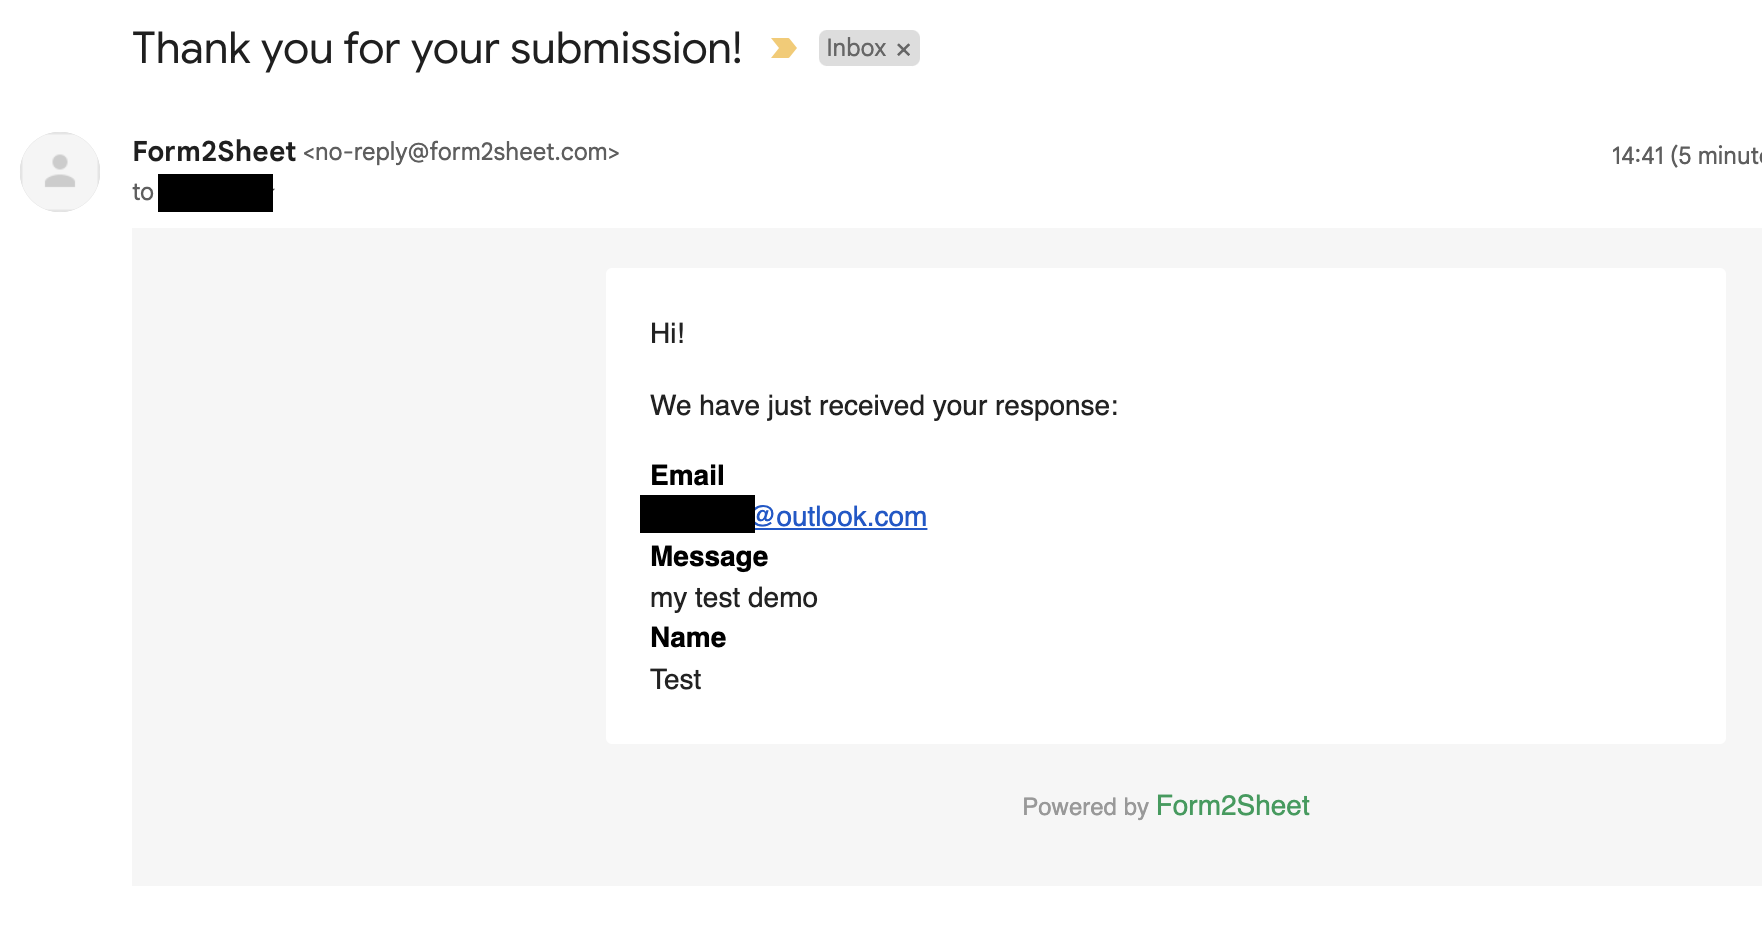
Besides that, you and the respondent will receive a confirmation email with the data
submitted.
And that's is! Simple as that. Aditionally, you can create Unlimited Spreadsheets, customize the Thank You page, add as many Custom Form Fields as you want and remove the Form2Sheet branding from the emails.

Conclusion
Congratulations! You can now go ahead and publish your Webflow site with the form. It is now
ready to start collecting responses. With
Form2Sheet, the process is streamlined, and you can focus on obtaining valuable data
without
the hassle of complicated setups.
If this made you curious, go ahead and check our pricing below.
