Posted by João Martins on 13 Apr 2026
How to Submit a Next.js Form to Google Sheets
Connect your Next.js forms to Google Sheets using Form2Sheet - no API routes needed
Next.js is the leading React framework for production-grade web applications.
With Form2Sheet, you don't need to create API routes or serverless functions to collect form data - just point your form to Form2Sheet and your responses go straight to Google Sheets.
In this tutorial, you'll learn how to build a Next.js form component that works with both the App Router and Pages Router, submitting data to Google Sheets without any server-side code.
Step 1: Prerequisites
The first step in integrating Form2Sheet is to subscribe either monthly or yearly.
Then, go to https://form2sheet.com and create your first
spreadsheet.
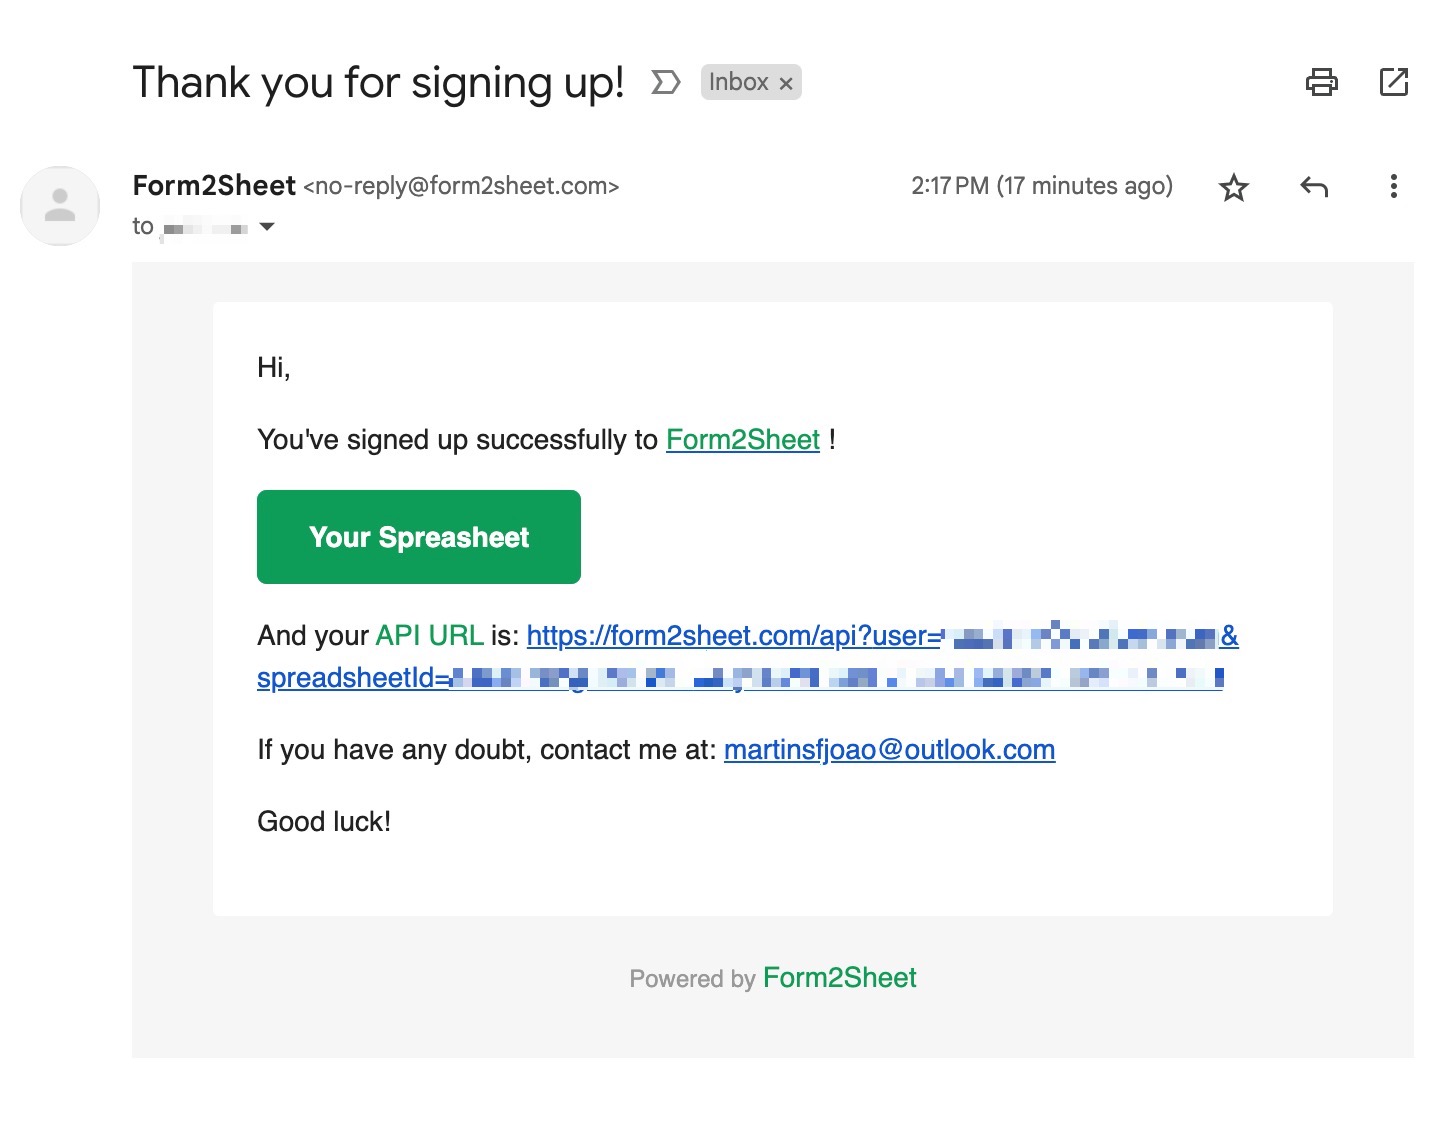
(Email received after creating a spreadsheet)
Step 2: Building Your Next.js Form Component
This component works with both the App Router (Next.js 13+) and Pages Router. The 'use client' directive at the top tells the App Router this is a client component. Use useState for form state and fetch to POST FormData to the Form2Sheet API URL. Make sure to replace the $API_URL with the one you received
in your email (check your spam folder as well).
'use client';
import { useState } from 'react';
export default function ContactForm() {
const [formData, setFormData] = useState({
name="": '', name="": '', name="": ''
});
const [submitted, setSubmitted] = useState(false);
const handleChange = (e) => {
setFormData({ ...formData, [e.target.name]: e.target.value });
};
const handleSubmit = async (e) => {
e.preventDefault();
const form = new FormData();
Object.entries(formData).forEach(([key, val]) => form.append(key, val));
await fetch('', { method: 'POST', body: form });
setSubmitted(true);
};
if (submitted) return <p>Thank you for your submission!</p>;
return (
<form onSubmit={handleSubmit}>
<label>Name:</label>
<input type="text" name="name" value={formData.name} onChange={handleChange} />
<label>E-mail:</label>
<input type="email" name="email" value={formData.email} onChange={handleChange} />
<label>Message:</label>
<textarea name="message" value={formData.message} onChange={handleChange}></textarea>
<button type="submit">Submit</button>
</form>
);
}
Alternatively, if you prefer a simple approach without client-side JavaScript state management, you can use a plain HTML form that works with any Next.js version:
<form action="" method="POST">
<label>Name:</label>
<input type="text" name="name" />
<label>E-mail:</label>
<input type="email" name="email" />
<label>Message:</label>
<textarea name="message"></textarea>
<button type="submit">Submit</button>
</form>
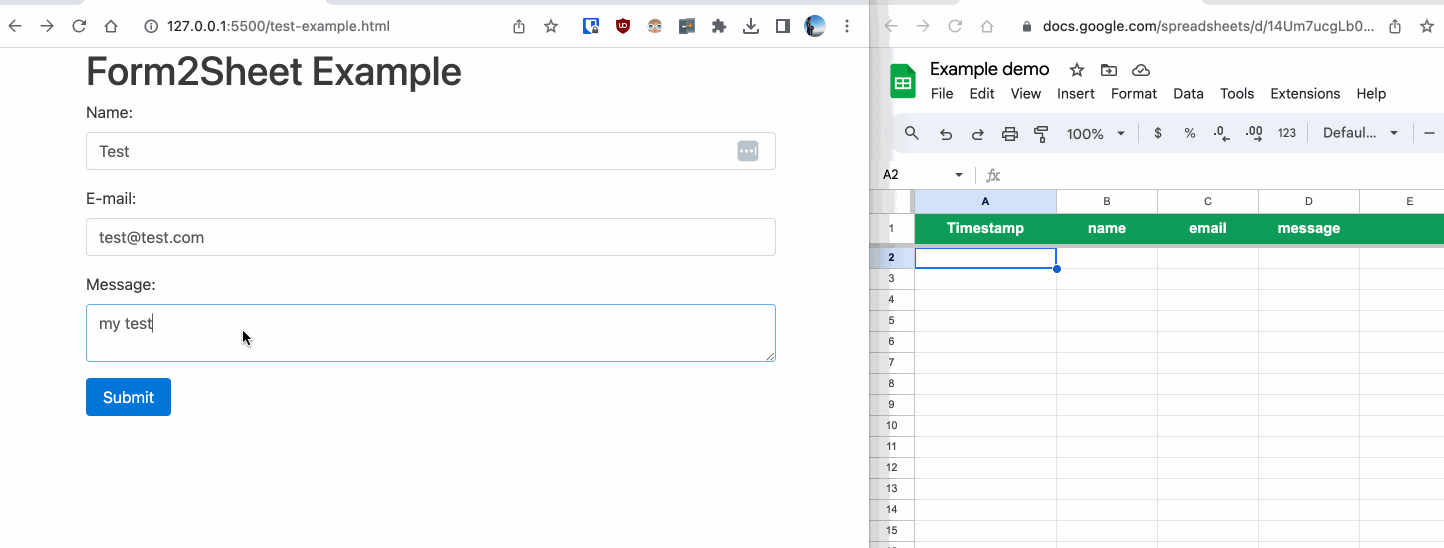
Step 3: Submitting the Form
In the GIF below, you can see how after submitting the form you check the results in
your Spreadsheet.
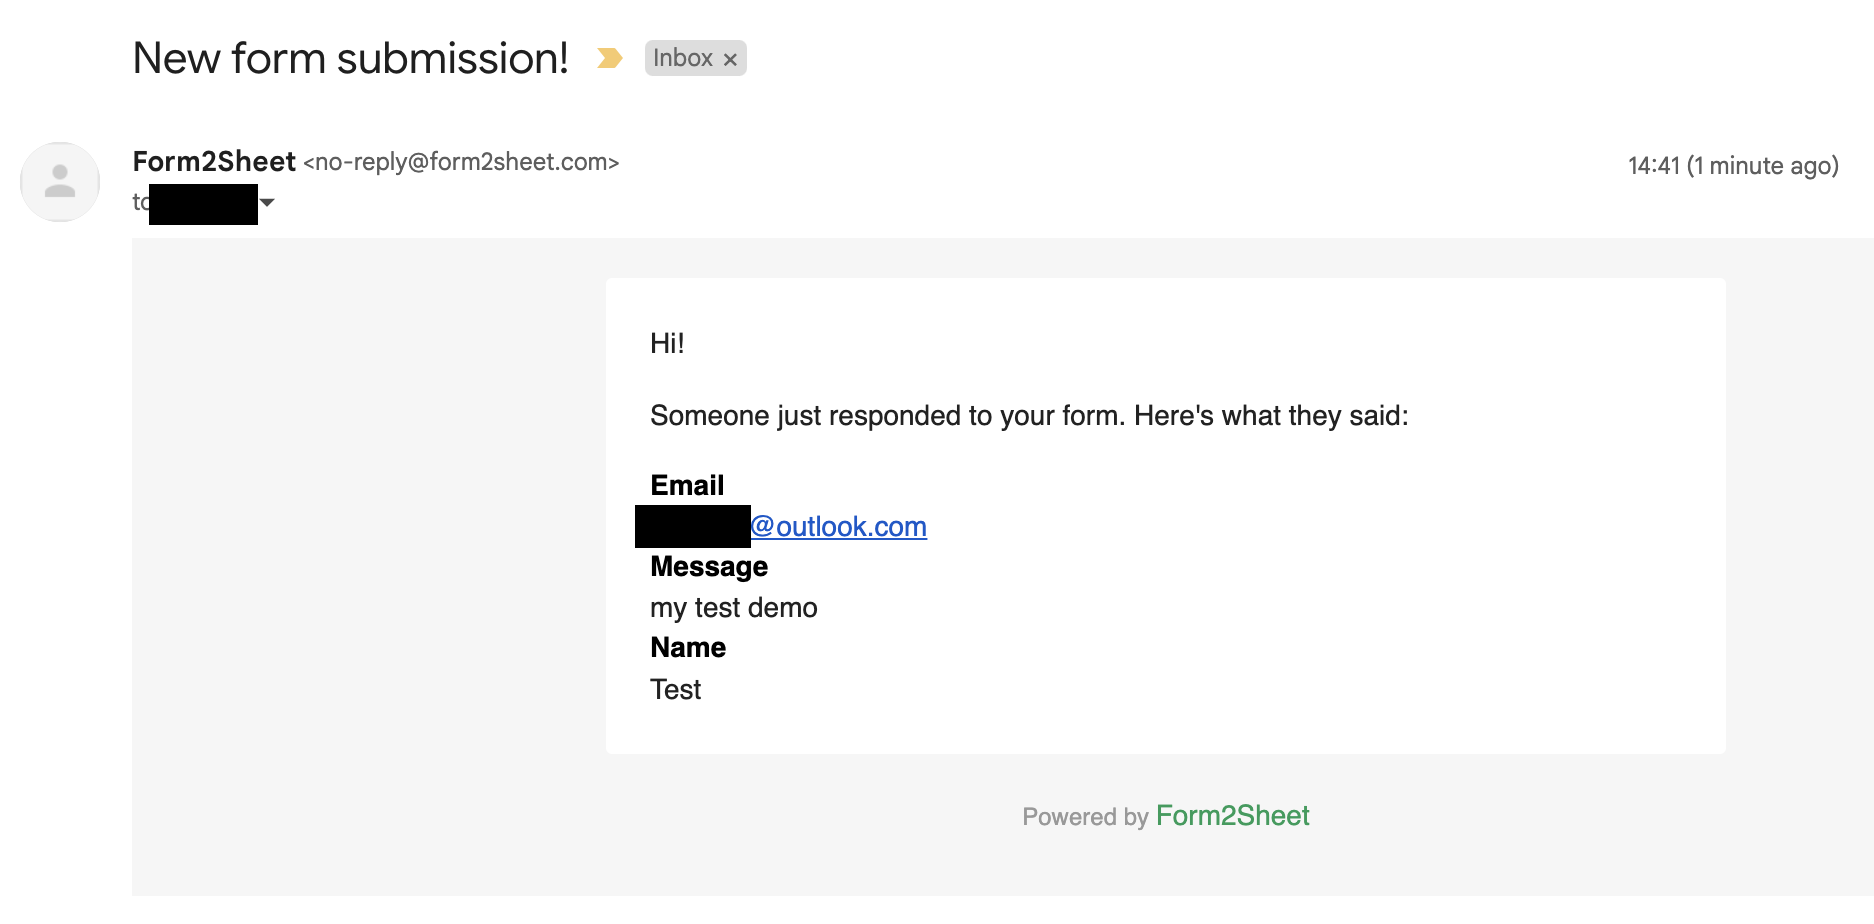
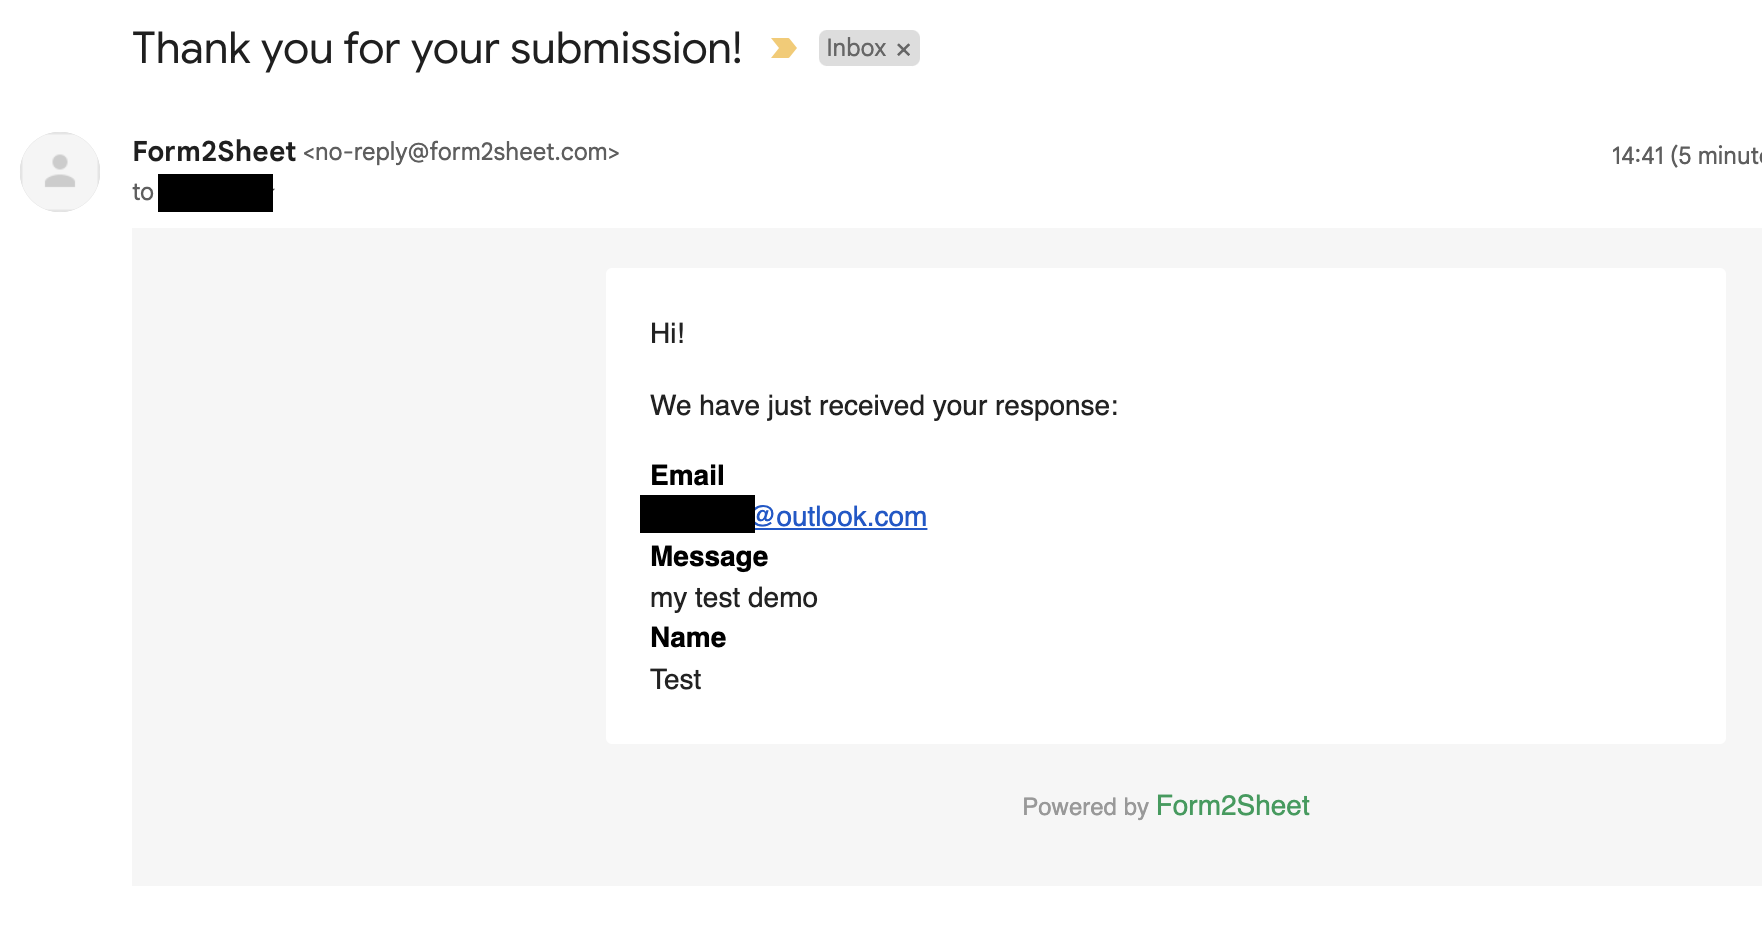
Besides that, you and the respondent will receive a confirmation email with the data
submitted.
And that's is! Simple as that. Aditionally, you can create Unlimited Spreadsheets, customize the Thank You page, add as many Custom Form Fields as you want and remove the Form2Sheet branding from the emails.

Conclusion
Congratulations! You now know how to submit a Next.js form to Google Sheets using Form2Sheet. Whether you're using the App Router or Pages Router, Form2Sheet lets you skip the hassle of API routes and serverless functions - just build your form and start collecting data.
If this made you curious, go ahead and check our pricing below.
Related Guides:
